Gordon Art Place
Spring 2016 Newsletter
In this issue of the newsletter, I provide an outline of the process I used for the production of a series of bronze sculptures which will be in my upcoming art exhibition, opening April 30th at the Lark Gallery in Hawthorne. For more details see the article at the end of this newsletter.
Bronze Sculpture Production: The “Lost Wax” Process
It all begins with a lump of clay made in to an art object. I am using an oil-based clay (that never dries)—that is used for modeling. After an image is created and a mold is made from it, the clay can be re-used for another project. During this process, I will first make a silicone rubber mold of my image from which a wax replica will be produced. Next, another mold will be made out of multiple layers of special sand slurry and silicone for the wax, which will be baked in a kiln. During this baking, the wax will be melted out and the silicone coat will be fused into a “jacket” into which the molten bronze will be poured.
This article outlines the steps of the process. For more detail, I recommend a visit to a foundry—or make a short visit to YouTube to see demonstrations of the process
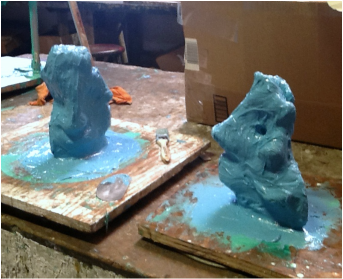
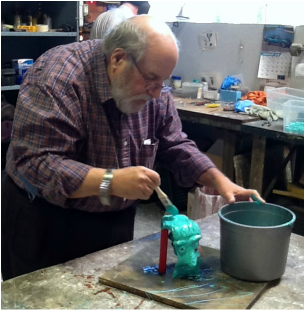
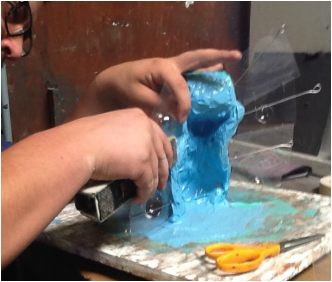
The first step at the foundry is the making of the mold from the sculpted clay image (fig. 1 & 2). The making of the mold requires a series of coats of a mold-making material (silicone-based) “painted on” with a paintbrush. The artist must be sure that the mixture is the right consistency or the mold will not pick-up the detail on the original clay image. After the first coat dries successive coats will be added—each coat curing (setting) in between—until the clay original is covered by ¼” to ½” of silicone—this usually takes 3 to 5 coats (fig. 3).
This article outlines the steps of the process. For more detail, I recommend a visit to a foundry—or make a short visit to YouTube to see demonstrations of the process
- Clay to Bronze, the Lost Wax Method (https://youtu.be/EjfnbTgBlRg)
- How It’s Made, Bronze Sculptures (https://youtu.be/W8GmKJXoTO8)
- The Lost Wax Bronzing Process (https://youtu.be/XJsAFLM0RWk)
The first step at the foundry is the making of the mold from the sculpted clay image (fig. 1 & 2). The making of the mold requires a series of coats of a mold-making material (silicone-based) “painted on” with a paintbrush. The artist must be sure that the mixture is the right consistency or the mold will not pick-up the detail on the original clay image. After the first coat dries successive coats will be added—each coat curing (setting) in between—until the clay original is covered by ¼” to ½” of silicone—this usually takes 3 to 5 coats (fig. 3).
The Silicone Rubber Mold Becomes the “Master mold”
Depending of the design of the artwork being molded, it may be necessary to cut the artwork into two or more pieces to ensure that the resulting mold will allow gravity to assist the flow of the molten bronze when the casting stage begins. At this silicone-molding stage I am making a rubber mold to produce a wax replica. Once I have cut the silicone rubber mold to enable me to take out the original art image, I will be left with a cavity into which I will pour or paint wax. At a later time I will use the resulting wax replica of my art object, to form the basis of a “ceramic” jacket into which the bronze will be poured.
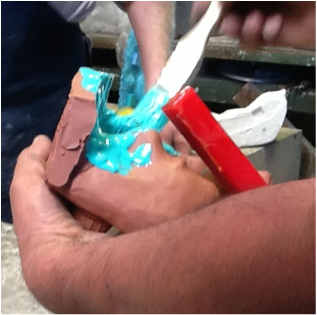
Picture a clay object wrapped in a silicone rubber jacket. In order to open the mold I will need to separate the two halves of the jacket. This will enable me to take-out the original clay image. To do so, I need to embed plastic-sheet squares (fig. 4) to make a seam which allows for a good separation of the two halves of the silicone jacket. It is the internal part of the mold that reflects the wax image with its detail, design and textures.
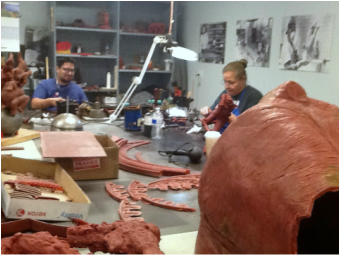
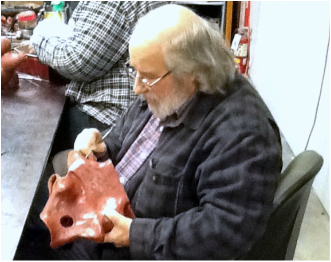
The silicone rubber mold, the master mold, will be enclosed in plaster. Holes will be drilled through the plaster to keep it in place. This duo of silicone rubber encased in plaster will be used for subsequent wax castings for other parts of the edition of the same image. It is into this master mold that the wax will be poured to complete the wax casting—a replica of the original art object. Upon completion of this step, the wax replica can be carefully cut out of the rubber mold. If it was necessary to cut our piece into several smaller pieces for mold-making, the wax replica can now be reassembled, and perfected—also called “chasing”, a process during which a skilled technician carefully insures that all the artist’s lines and design are replicated in the wax and all the imperfections are corrected (fig. 5 & 6).
The master mold can be used for subsequent wax casting of the same art object for other pieces in the same edition. It is not unusual for bronze art objects to be cast in small editions. During this stage vents and gates are added to the wax replica to provide spaces or vents for bronze to flow in and gases to flow out during the casting stage. These gates and vents will be cut off after the bronze has been poured. First, however, the wax replica with gates and vents will recieve a number of coats of silicone sand which will form a ceramic jacket.
The ceramic coat (the waste mold) and bronze casting
The next stage is the development of a “ceramic coat” around the wax replica. This coat is called the waste mold (into which the molten bronze will be poured). During this stage, the wax is covered with successive coats of a special sand slurry, then larger gradients of sand crystals (silicone) until there are 6 to 8 coats and about ½” to ¾” of silicone sand coating. Each coat must dry before the next coat can be added. In the next step, the mold with the wax inside, is put in to a kiln (to just over 1500 degrees Fahrenheit). This heats and melts the wax, burns out any impurities and vitrifies the sand into a ceramic coat. The silicone crystals melt and fuse into a glass-like rigidity that can withstand the pressure changes as the bronze is poured. Now there is a cement-like jacket into which the molten bronze can be safely poured. The disintegration of the wax during this process is how the “lost wax” method gets its name.
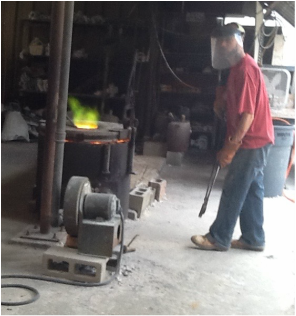
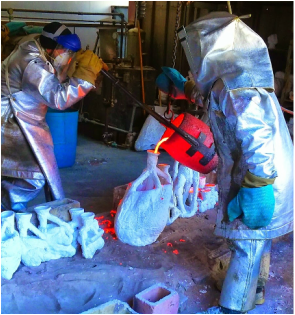
The actual bronze pouring will require the melting of bronze ingots in a special cauldron to a temperature of over 2000 degrees Fahrenheit (fig. 7 & 8)
The actual bronze pouring will require the melting of bronze ingots in a special cauldron to a temperature of over 2000 degrees Fahrenheit (fig. 7 & 8)
When working with the kiln and during the bronze pouring stage, the workers must wear protective suits against the very high heat. The pouring of the bronze into a line-up of waiting projects is carefully planned to make the most efficient use of time and resource.
Breaking out the raw bronze sculpture
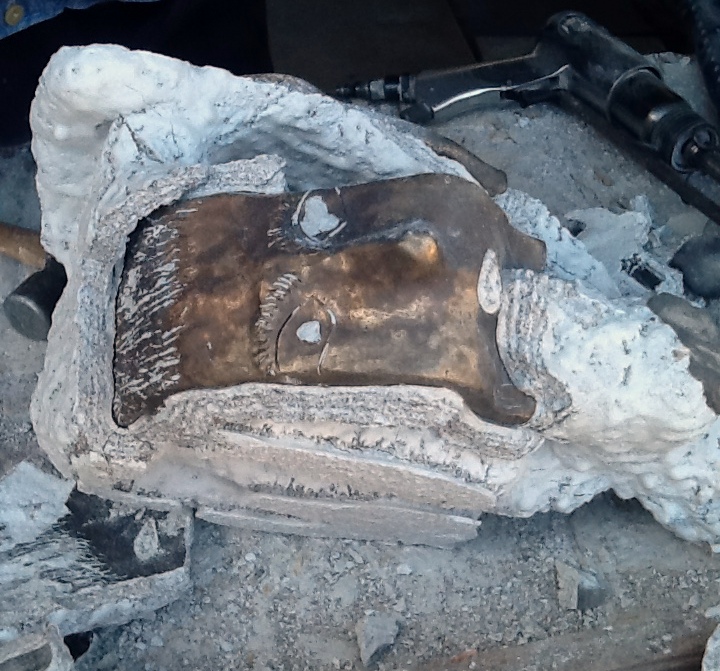
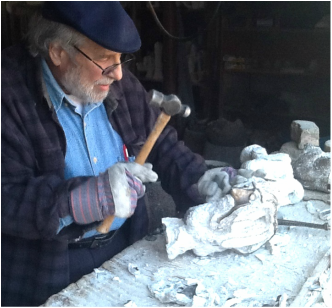
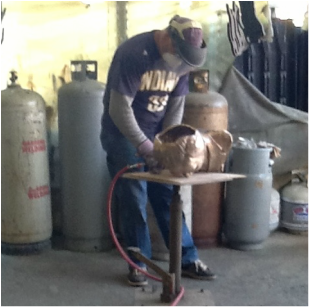
OK, we’re getting close to seeing the completed piece (fig. 9). First, we have to break out the metal from the ceramic jacket. The hardened and fired silicone has formed a cement-like encapsulation around the sculpture. Using either a power hammer/chisel or hammer and/or hand chisel, the stone must be cracked off of the metal. This is hard and tedious work (fig. 10). Sandblasting is the next step. Sandblasting removes the remaining stone from small areas of the metal image. Once separated from the stone the metal sculpture must be chased, i.e. rejoined and have all welded joints made smooth or to replicate the original artist’s design, textures and concept. The gates must be sawed off and extraneous pits, bumps, lines etc. must be replaced by conformity with the artist’s design through a combination of grinding, filing and smoothing.
Patina, Polish, Finishing and Mounting
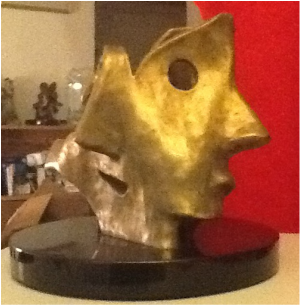
My sculpture is now beginning to emerge as a recognizable artwork. Patina means adding color or finishing in more traditional ways. This is accomplished by adding chemicals and heat to oxidize or otherwise react with the metal surface to change the color from the rawness of the manufacturing process to the beautiful image presented to the public (fig. 11).
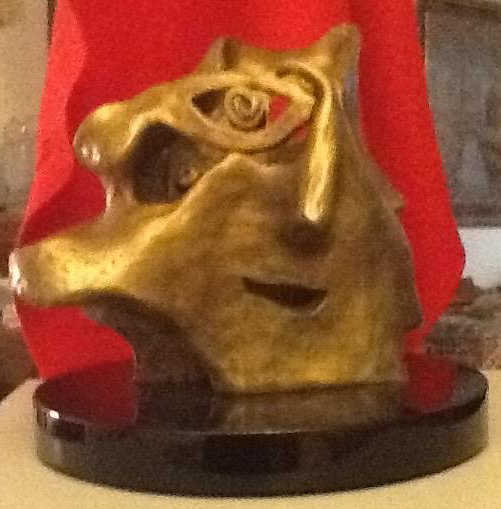
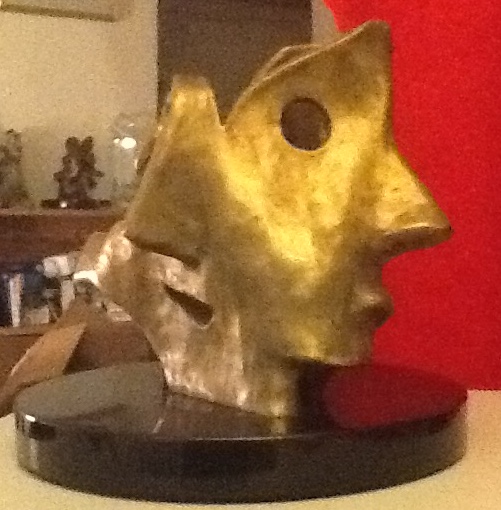
Knowing the correct formulas to accomplish the right colors and effects is the work of a highly skilled specialized craftsman. One of the last steps is the drilling of holes and mounting on a hard stone or wood base. I like to mount my sculptures on a turning base to facilitate viewing from all sides (fig. 12)
Knowing the correct formulas to accomplish the right colors and effects is the work of a highly skilled specialized craftsman. One of the last steps is the drilling of holes and mounting on a hard stone or wood base. I like to mount my sculptures on a turning base to facilitate viewing from all sides (fig. 12)
In summary, from start to finish, once the sculpture reaches the foundry, the process takes 8 to 12 weeks and involves many people. The work in the foundry is a collaborative process between the artist and skilled craftspeople.
My foundry for this project has been Mc3, Inc. under the management and supervision of Shaun McClelland and his excellent staff. 12911 Chadron Avenue, Hawthorne, CA 90250. Phone: 310.219.0331
My foundry for this project has been Mc3, Inc. under the management and supervision of Shaun McClelland and his excellent staff. 12911 Chadron Avenue, Hawthorne, CA 90250. Phone: 310.219.0331
Upcoming Art Exhibition: Inside a Surrealist’s Mind
A Solo Exhibition of my work will begin April 30 through May 28, at The Lark Gallery in Hawthorne at 12609 Hawthorne Blvd. The Opening Reception will be from 6 PM until 9 PM, Saturday, April 30, 2016. You and your friends are invited.This exhibition will include a selection of Oils on Canvas, Etchings, Pen & Ink Drawings and recent bronze sculptures.
You will find more information about me and my art on my website at The GordonArtPlace.com. You can reach me at 310.390.0200 for more information or to make an appointment.
You will find more information about me and my art on my website at The GordonArtPlace.com. You can reach me at 310.390.0200 for more information or to make an appointment.
|
If you enjoyed this newsletter then subscribe to get more delivered to you.
|
